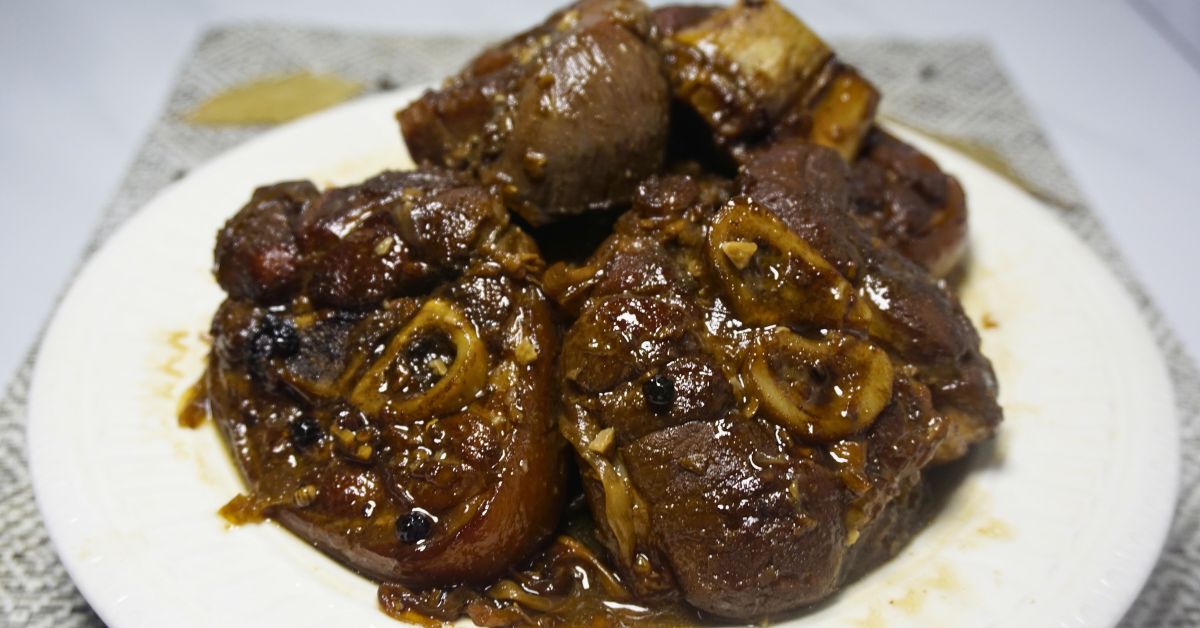
Where every meal feels like home!

Best Buffalo Wings Recipe – Crispy, Tangy, and Flavorful!

Table of Contents

Buffalo wings in a plate with blue cheese dressing.

If there’s one flavor of fried chicken wings that I’ll always love making, it’s Buffalo wings. There’s just something about that perfect mix of crispy skin, juicy meat, and tangy sauce that makes every bite unforgettable. The heat from the hot sauce, balanced with the buttery goodness, creates a flavor that hits all the right spots. You know it’s going to be good when your fingers get sticky from the sauce, and you can’t stop licking them after each bite!

At home, I make these wings whenever we want something quick, tasty, and perfect for a weekend snack or movie night. It’s that go-to dish when you want to impress your family without spending too much time in the kitchen. Plus, I love how easy it is to customize the spice level. Whether you want it mild or super spicy, these wings are guaranteed to satisfy those cravings!

Fried wings coated in hot sauce and ketchup mixture.

Why You’ll Love This Recipe

First of all, Buffalo wings are a crowd-pleaser—whether it’s a chill weekend at home or a small get-together with friends, these wings always get devoured fast. What I really love is how simple it is to prepare. There’s no complicated technique; it’s just straightforward frying and tossing in sauce. You get that crispy, golden skin on the outside, and the sauce sticks perfectly to each wing. Every bite is a mix of tangy, slightly spicy, and buttery flavors—super satisfying, especially when paired with an ice-cold drink.

The best part? You can adjust the spice level to suit your taste. My family loves it on the mild side, but when I’m in the mood for a kick, I just add a bit more hot sauce. It’s one of those recipes where you really can’t go wrong. Plus, it’s quick to whip up, so no long hours in the kitchen!

Buffalo wings ingredients. Chicken wings, Hot sauce, ketchup, butter, garlic, salt and pepper.

Ingredients You'll Need

Chicken wings, refrigerated to dry: Chilling the chicken wings in the fridge helps dry out the skin, so they get super crispy when fried. Trust me, this step makes a big difference—it’s how you get that perfect crunch on the outside while keeping the meat juicy inside.

Salt and black pepper: Simple but important. A good sprinkle of salt and black pepper brings out the flavor of the chicken and adds just the right hint of spice before we toss the wings in that delicious sauce.

Butter: This is what gives the sauce its rich, smooth texture. It helps balance out the heat from the hot sauce and makes the wings extra flavorful.

Garlic, minced: Fresh garlic adds a bold, aromatic kick to the sauce. It infuses the butter with a savory depth that really brings the sauce to life.

Hot sauce: The star ingredient for that signature Buffalo wings flavor! It brings the heat and tang that makes each wing exciting to bite into.

Ketchup: This adds a touch of sweetness and thickness to the sauce, balancing out the spiciness and giving it a slightly tangy finish.

Salt and black pepper: Just a little of these to enhance the overall flavor, giving the sauce a nice balance between spicy, salty, and savory.

Optional brown sugar: If you like a bit of sweetness with your heat, adding brown sugar softens the spicy edge and gives the sauce a subtle caramel-like sweetness.

Chopsticks holding crispy and spicy buffalo wings.

Step-by-Step Cooking Instructions

Prepare the Wings

First, you want to arrange the chicken wings on a cooling rack and let them rest for a bit. This step is super important because it helps dry out the skin, and that’s the secret to getting them extra crispy when we fry them later. Once they’re nice and dry, season the wings with some salt and pepper. Just sprinkle enough to coat them evenly—this will give the wings a good base flavor.

Fry the Chicken Wings

Now, heat up enough oil in a deep pan. You’ll need enough oil to cover the wings when frying. Once the oil is hot (you’ll know when it starts to shimmer), carefully drop the chicken wings in batches. Fry them until they turn a beautiful golden brown and crispy, which should take about 10-12 minutes per batch. Don’t overcrowd the pan, so the wings fry evenly. After frying, place the wings back on the cooling rack to drain any excess oil and keep them crispy.

Make the Buffalo Sauce

While the wings are draining, let’s move on to the sauce. In a separate pan, melt the butter over medium heat. Once melted, add the minced garlic and sauté it until it smells amazing—this just takes a minute or two. After that, stir in the hot sauce, ketchup, salt, and black pepper. If you like a bit of sweetness, this is where you can toss in the brown sugar. Let the sauce simmer for 2-3 minutes, stirring occasionally to make sure everything blends together nicely.

Coat the Wings in Sauce

Now for the fun part—tossing the wings in that delicious sauce. Take the fried wings and toss them in the buffalo sauce, making sure each wing gets fully coated. I like to use a large bowl to make this easier, so I can really toss them around and get the sauce on every part.

Serve and Enjoy!

Your Buffalo wings are now ready to serve! They’re best when they’re still hot and crispy, and the tangy sauce is clinging to every bite. If you have ranch or blue cheese dressing, they make great dipping partners. Enjoy!

Plate of buffalo wings with celery sticks, carrot sticks, lemon slice and blue cheese dressing.

Pro Tips for Perfect Buffalo Wings

Dry the wings well: Letting the wings air dry in the fridge before frying helps the skin get extra crispy. This step is key, so don’t skip it if you want that perfect crunch!

Fry in batches: Don’t overcrowd the pan when frying the wings. Giving them enough space ensures that they cook evenly and stay crispy, rather than soggy.

Keep the sauce warm: While frying the wings, keep the sauce warm over low heat. This way, when you toss the wings in, the sauce sticks better and coats them evenly.

Toss just before serving: Coat the wings in sauce right before you serve them. This helps keep the wings crisp while still giving you that flavorful, tangy sauce in every bite.

Adjust the spice to your taste: You can always tweak the amount of hot sauce or even add more brown sugar to suit your spice preference. Don’t be afraid to make it your own!

Buffalo Wings Variations

Spicy Honey Buffalo Wings: If you love a sweet and spicy combo, add honey to the sauce. It balances the heat with a touch of sweetness, making each bite extra sticky and flavorful.

Garlic Parmesan Wings: Skip the hot sauce and toss your wings in a garlic butter sauce mixed with Parmesan cheese. It’s rich, cheesy, and perfect if you want something less spicy but still full of flavor.

Extra Spicy Buffalo Wings: For those who love heat, simply add more hot sauce or even a dash of cayenne pepper to the sauce. This will kick the spice level up a notch!

BBQ Buffalo Wings: Mix your buffalo sauce with BBQ sauce for a smoky, tangy twist. It adds a deeper flavor and is great if you want to tone down the heat but still enjoy the tangy goodness.

Baked Buffalo Wings: If you prefer a healthier version, bake the wings instead of frying them. Just coat the wings in oil, season with salt and pepper, and bake them at 400°F until crispy. Then toss them in the buffalo sauce as usual.

Frequently Asked Questions

Yes, you can fry the wings ahead of time and store them in the fridge. When ready to serve, just reheat them in the oven and toss them in the sauce before serving.

Store leftover wings in an airtight container in the fridge for up to 3 days. Reheat them in the oven or air fryer to maintain their crispiness.

You can, but traditional Buffalo wings are made using chicken wings for that perfect crispy skin. If you want to use drumsticks or thighs, just adjust the cooking time accordingly.

Use oils with a high smoke point like vegetable oil, canola oil, or peanut oil for frying. This ensures the wings fry evenly and don’t burn.

Yes, you can freeze fried wings before tossing them in the sauce. To serve, reheat them in the oven, then coat them in the sauce once they’re hot and crispy.

Buffalo wings in a plate with blue cheese dressing.

Buffalo Wings

Crispy, tangy Buffalo wings that are easy to make at home! Follow this recipe for perfectly seasoned wings with a mouthwatering sauce.
Prep Time 15 minutes
Cook Time 20 minutes
Course Side Dish
Cuisine American
Servings 4
Calories 400 kcal

Ingredients
  

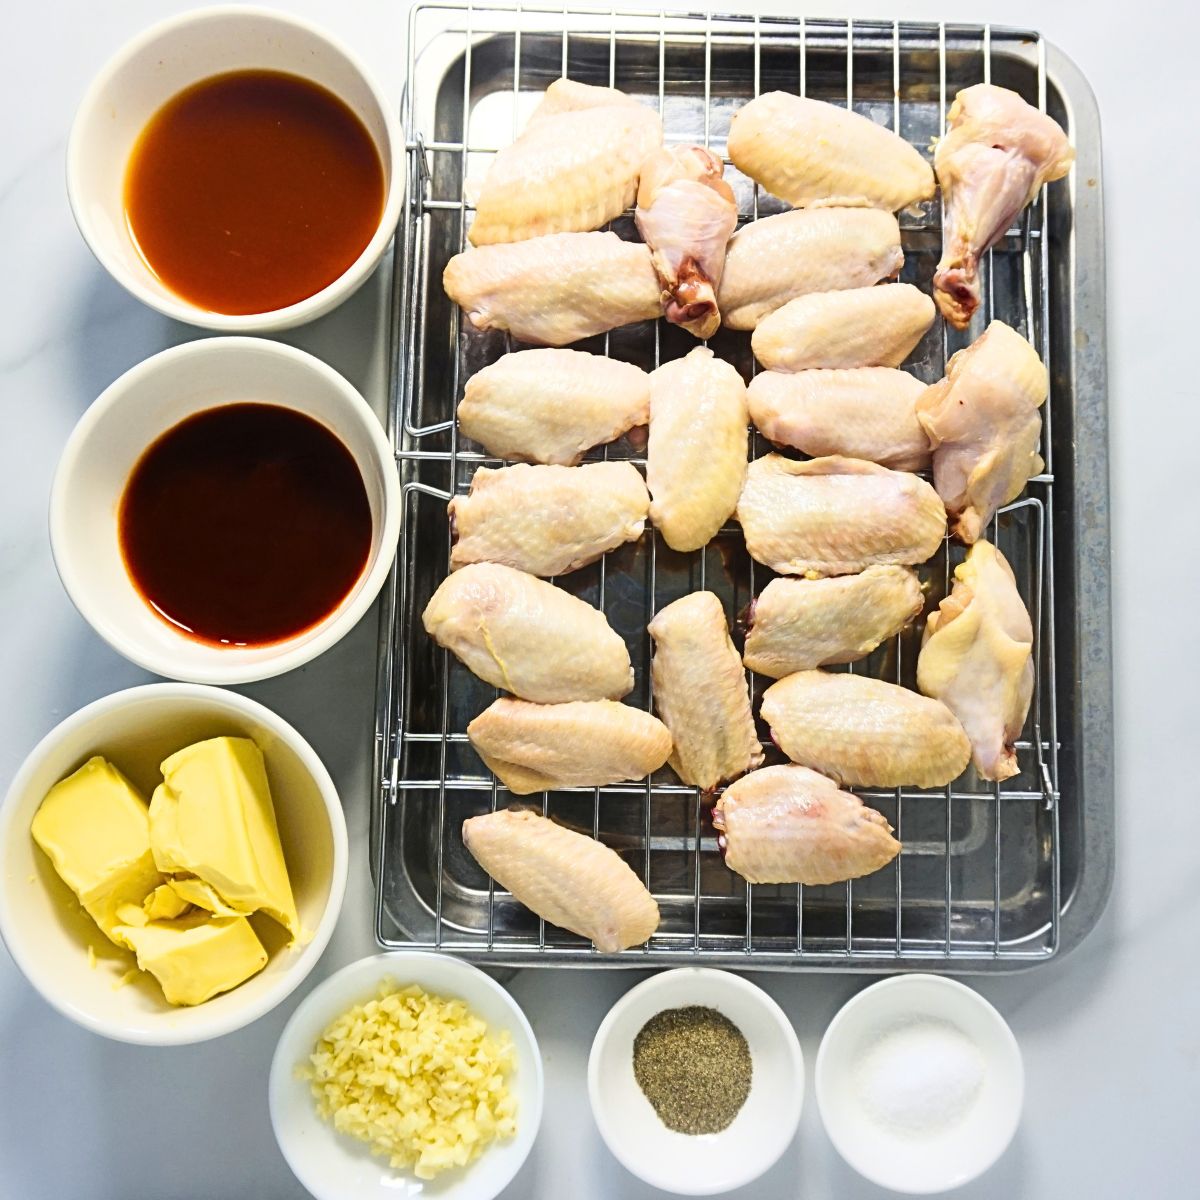
  • 500 grams Chicken Wings (refrigerated to dry)
  • Salt and black pepper (to taste)
  • Oil for deep frying

For the Sauce:

  • 80 grams Butter
  • 8 cloves Garlic (minced)
  • 1/2 cup Hot Sauce
  • 1/4 cup Ketchup
  • 1/4 tsp Salt
  • 1/4 tsp Black Pepper Powder
  • 1 tbsp Brown Sugar (Optional)

Instructions
 

  • Arrange the wings in a cooling rack. Let them rest to dry, which helps get that crispy skin during frying. Once dried, season the chicken wings with salt and pepper.
  • Heat enough oil in a deep pan for frying. Once the oil is hot, carefully deep fry the chicken wings in batches until they turn golden brown and crispy. This should take around 10-12 minutes per batch.
  • Once the wings are fried, transfer them onto a cooling rack to let the excess oil drain and the wings stay crisp.
  • In a separate pan, melt the butter over medium heat. Add the minced garlic and sauté until fragrant. Stir in the hot sauce, ketchup, salt, and black pepper. If you prefer a slightly sweet touch, add the brown sugar. Let the sauce simmer for 2-3 minutes, stirring occasionally, until well combined.
  • Toss the fried chicken wings in the buffalo sauce, making sure each wing is fully coated.
  • Serve your Buffalo Wings hot, and enjoy the perfect balance of crispy wings and tangy sauce! These wings are best served with a side of ranch or blue cheese dressing!
Best Buffalo Wings Recipe – Crispy, Tangy, and Flavorful!Best Buffalo Wings Recipe – Crispy, Tangy, and Flavorful!Best Buffalo Wings Recipe – Crispy, Tangy, and Flavorful!

Leave a Reply

Your email address will not be published. Required fields are marked *

Recipe Rating


Related Posts

Share this post!

Pin
Share